Ausdauer

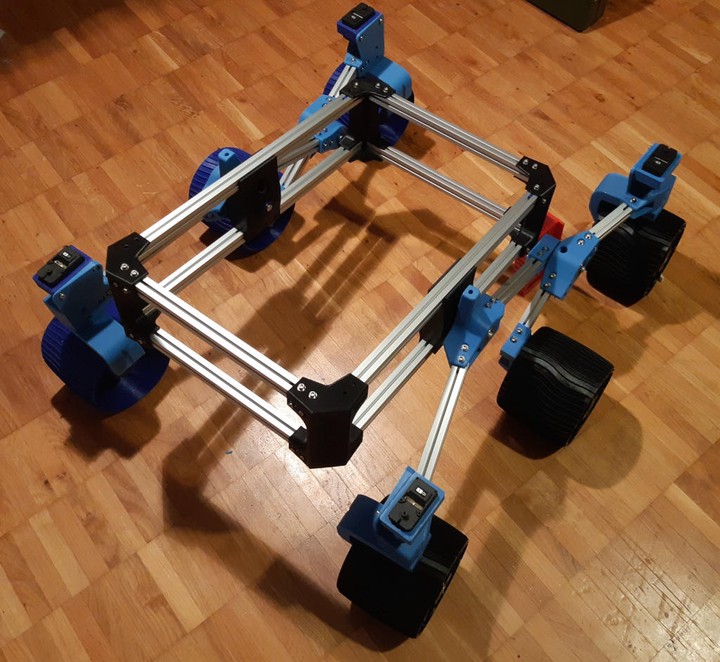
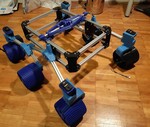
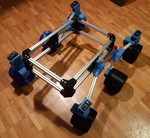
A build of the Sawppy rover.
Build log
2020-01-05
And that’s the end of the mechanical assembly! The differential went on fine, and the epoxy is strong enough to hold in the insets. There’s one last thing - I missed the insets on the end of the differential arm which are currently curing.

Next is the electrical assembly. That’ll take a while as each cable will need to be cut and extended.
2020-01-04
The brace is done and the remaining insets have been epoxied in. The next steps are to wait for the epoxy to dry, assemble the box, and attach the brace. That’s pretty much it for the mechanical side.

This is my first time using an epoxy. It’s quite nice to work with - viscous, and the 90 minute work time means there’s no rush. The lesson learned is that the parts can move / droop, so it’s worth checking after ~2h to see if the glued part is still in the correct position.
2021-01-02
I’ve almost completed the right hand side, and the left hand side is far enough along that I can assemble the whole rover!

The remaining steps are:
- Epoxy the steering wheel and differential inserts in. I didn’t modify the print, and the 3D Jake insets are ~1 mm smaller in diameter.
- Cut the grooves on the left hand side shafts.
- Print the differential.
2021-01-01
I’ve now printed the right hand side, cut the beams and rods, and assembled most of it.
I sanded the printer’s bed and cleaned it with IPA, and it seems to be sticking better. The 3D Jake PLA has also run out, so I’m back on the Innofil which seems to be better in general.
Cura’s “one at a time” mode is useful for repeated parts such as the nut holders and circlips. If the first layer doesn’t stick to the bed then the fault is isolated to that one repetition.
2020-12-27
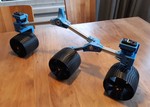
Over the last few days I cut the 8 mm rod, printed the remaining rocker components, and assembled the left hand drive:

Some lessons learned:
- I cut the shafts to the given dimensions plus 1 mm for each slot and 1 mm to cover any material lost during cutting.
- The printer adds a fair amount of ’elephants foot’ that needs to be removed with a file for the servos to fit.
- Something is off either in the bearings or components, as the E-Clips slots need an extra 1 mm of separation. For future ones I think I’ll cut one slot, then put the shaft in the assembly, then mark where the other slot should be.
- I haven’t been able to find E-Clips locally, but they’re (mostly) used to hold the shafts in place while assembling, and a 3D printed version works fine.
2020-12-23
Today I assembled a large part of the rocker / bogie assembly.

I’ve sanded the build plate and cleaned it with IPA (which is available from the Pharmacy…). I have a theory that the bottom right of the build plate is ‘bad’ so will test by printing on the top left. It’s currently printing the servo holders and shows no issues.
2020-12-22
Today’s haul is most of the rocker / bogie components:

The bearing holes are too tight, but heating the bearings on the 3D printer bed and then inserting them with the vice works fine.
I had trouble in the last two days with the new filament not sticking to the bed, and instead getting caught on the nozzle and dragging around the bed. I used a brillo like pad to clean the nozzle and bed and it seems better since then.
2020-12-20
The drawing uses ‘M3insertL’ (5.1 mm) and ‘M3insertS’ (3.4 mm) as variables.
The Amazon insets are 5.6mm –> 5.12mm OD with a OAL of 3.85mm.
The 3DJake insets 4.7 mm –> 4.0 mm and 5.7 mm OAL.
Based on that, use 4.0 as M3insertL. M3insertS doesn’t seem to be used.
First print is OK but tight. Go for 4.1 mm.
The Philips head is 4.0 mm diameter. Drawing is 4.2 mm, but actual is 3.8 mm, so bump to 4.5 mm in the sketch.
With this, I now have a wheel assembly!
2020-12-18
All of the parts have arrived. I can’t find a source for 8 mm E-Clips but the first assembly can use 3D printed ones.
Printing the nut holders is tricky. The print often doesn’t stick to the bed, and the nozzle drags a bad print into the next print, disconnecting that. I’m using PrusaSlicer with Octoprint as Cura can’t handle a thin, upright model.
The threaded inserts are the wrong outer dimension. The 3D Jake ones are M3 x 5.7 with a outside diamer of 4.7 mm, but the Sawppy ones are 5.6 mm. I’ll need to re-work the original drawing to fix this.
2020-12-12
I cut the Makerbeam to length for the main box and one set of wheels. The mitre box works quite well. I added ~1mm to cover the material lost in the cut. The hacksaw is very cheap and the blade tensioner loosens over time. Not really a problem, but could be better.

2020-12-11
The hacksaw and mitre box arrived today. Tiny, shipped from the Netherlands, and in a ~20 L box…
Printed the first box corners:


